
Both versions of the sleeve cuffs are prime examples of a assemblies that might seem dauntingly complicated at first but actually aren't very difficult after actually practicing once or twice.
We'll start with the officer/captain version, as their construction was the same as their duty uniform counterparts' except for the ⅛" gold/black twisted piping embellishing the division stripe.
The assembly itself is in five pieces, plus interfacing and the ⅛" gold/black piping cuts.

First, fuse the interfacing to the sleeve cuff bands (piece L).
This will give them more dimension, as they tend to look disappointingly flat without it. It will also make the cuff sturdier, which is particularly important for the upper band; you don't want it to flop around!
Then cut two lengths of your ⅛" gold/black twisted piping the width of your sleeve cuff assembly plus 1-2".
The sleeve cuff pattern pieces, "in order," will look like this:

Start by sewing the upper band (piece L) to the inner layer (piece M), right sides together and edges flush.

Press the seam allowances upward, and press the inner layer down.

Fold the band piece over the seam allowances and press it down toward the underside, so that the wrong sides of the band and inner layer are facing and their lower edges are flush. This forms the actual band.

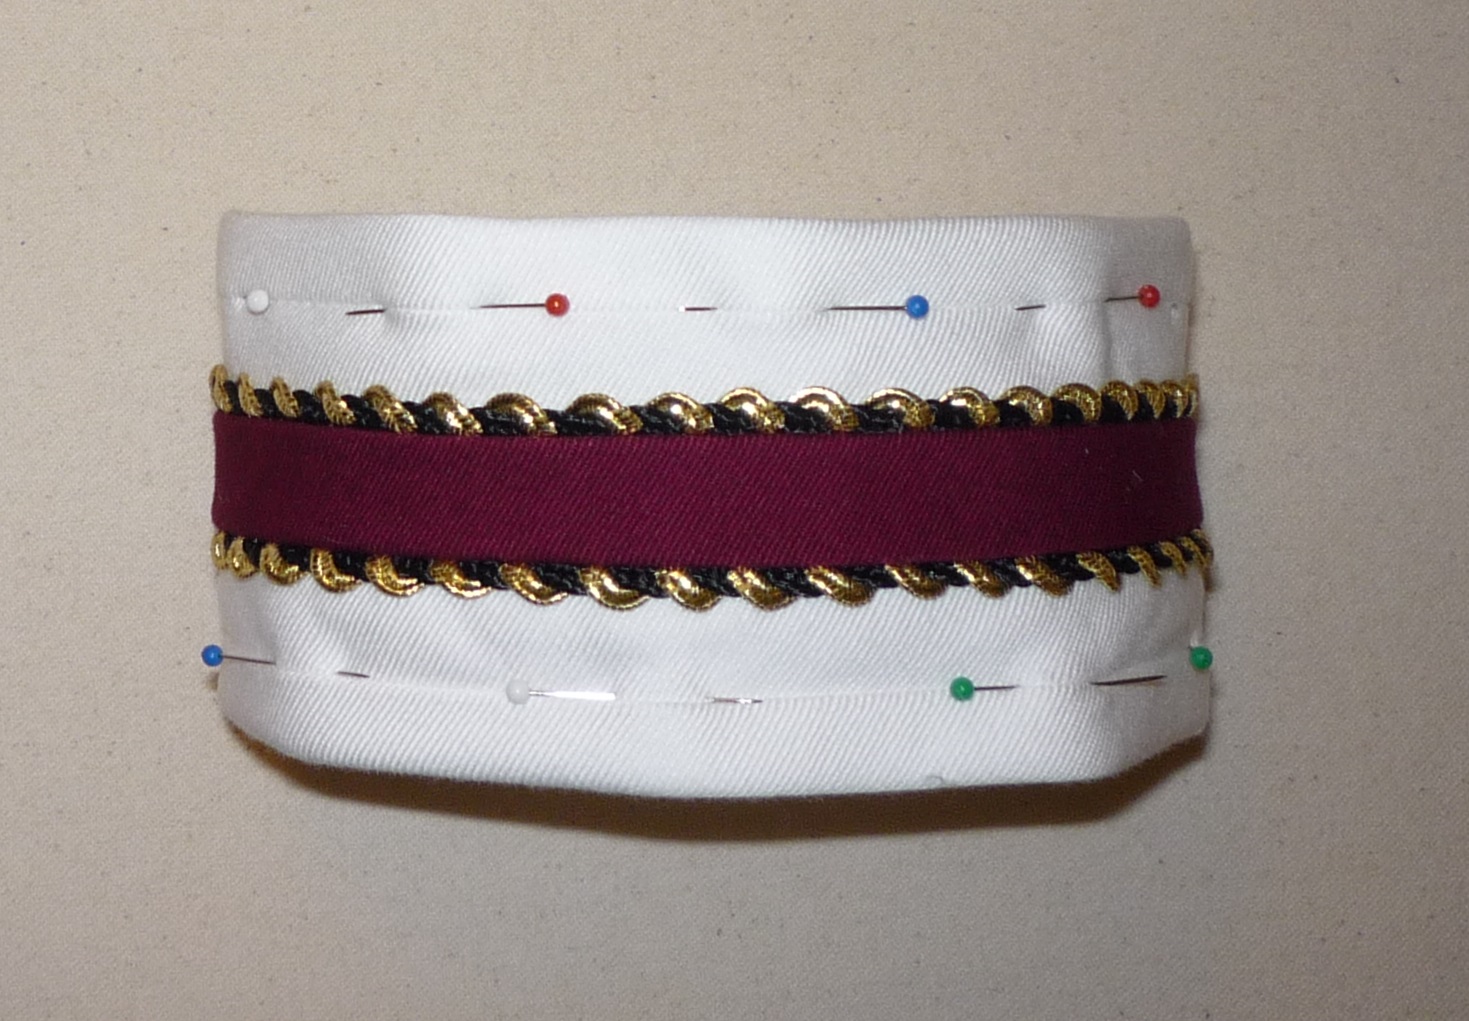
Using your zipper/piping foot, sew the two lengths of ⅛" gold/black twisted piping to the right side of the division stripe (piece N), with ¼" seam allowance, edges flush and with a bit of the piping overhanging at each end. (Remember, your piping either needs to already have a ¼" lip or been cut down to size.)

Sew the upper inner layer to the division stripe with ¼" seam allowance, with the long edges of the division stripe and the inner layer flush and right sides together.

Press the seam allowances toward the division stripe.

Repeat for the bottom half of the cuff.

Cut off the excess piping and apply a liberal amount of liquid fray preventer to the raw edges.
Sew the sleeve cuff closed along the sides (with the bands open), matching seam lines and right sides facing.

 Press the seam allowances open.
Turn the sleeve cuff assembly right side out.

Fold the bands under again and pin the undersides of the bands in place along the band/inner layer seam lines.
"Stitch in the ditch" along the band/inner layer seam lines to secure the undersides of the bands.

Repeat for other side.
PREVIOUS: Jacket Tutorial, part 11 - Close Sides
No comments:
Post a Comment